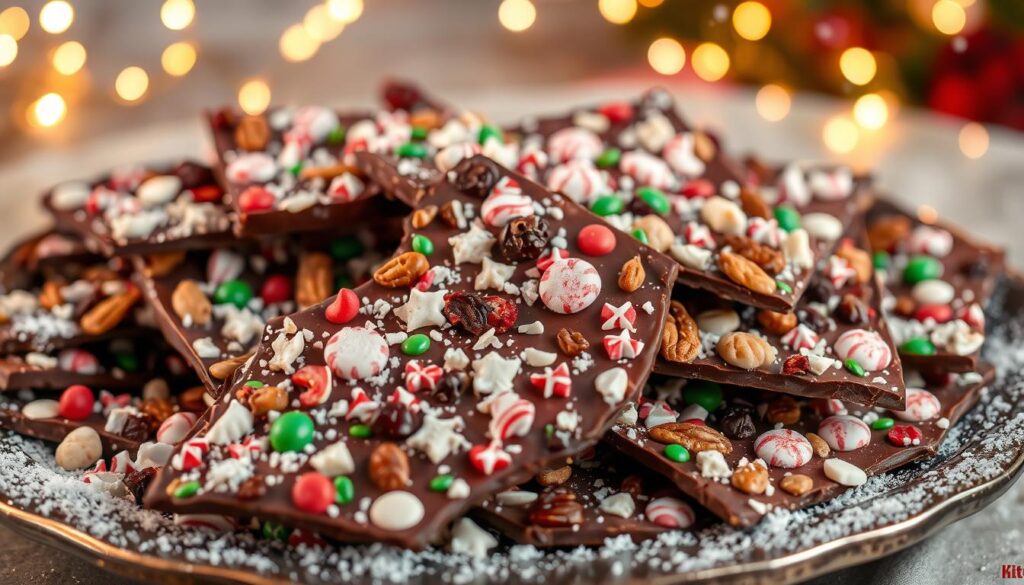
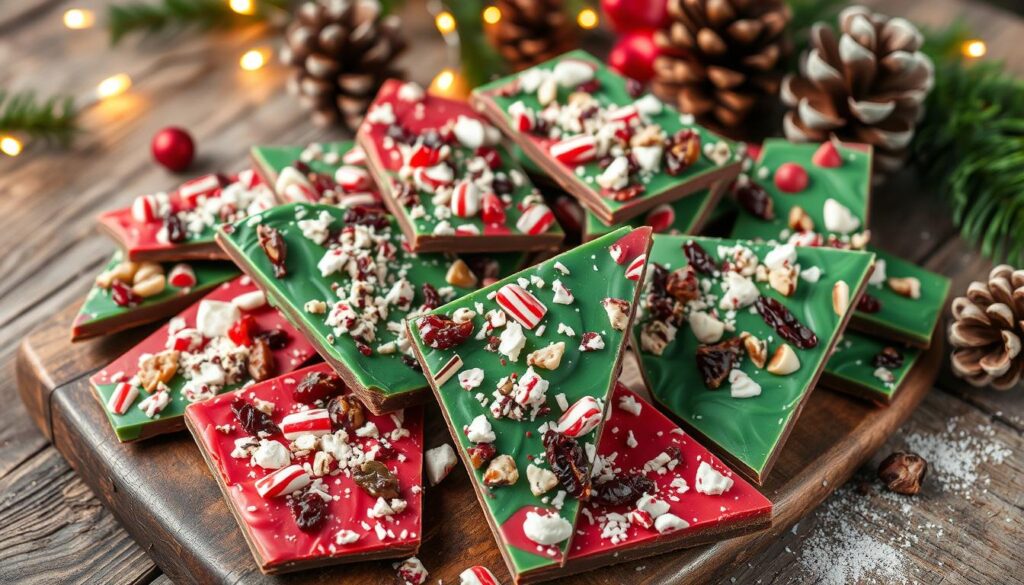
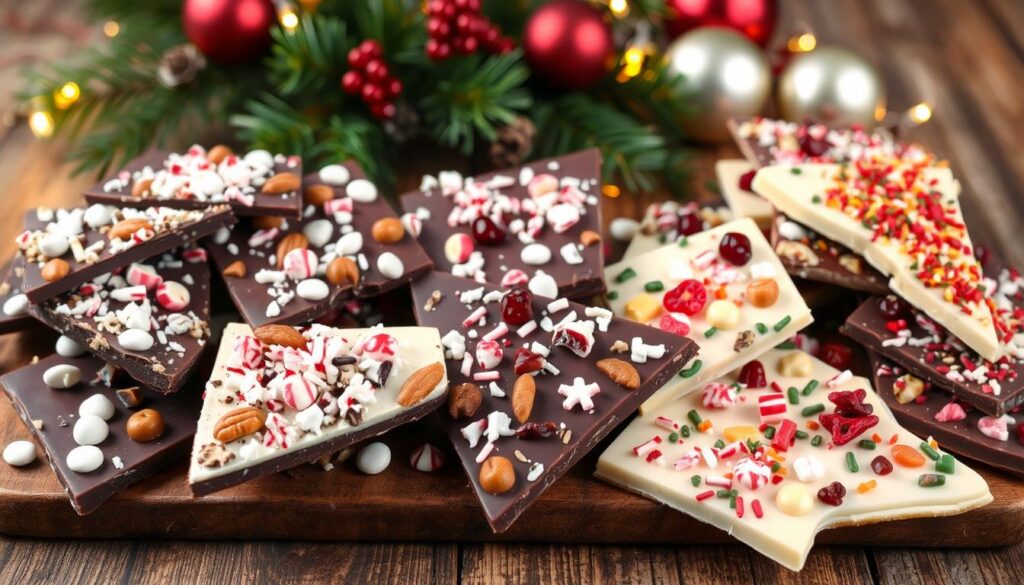
Get into the holiday spirit with our easy Christmas bark recipe. This treat is loved by all and is great for gifts, parties, or just for yourself. It’s simple to make and you can try many different flavors. Christmas bark is the perfect holiday treat to make your taste buds happy and spread joy.

Key Takeaways
- Christmas bark is a simple, yet elegant holiday treat
- It’s highly customizable with a variety of chocolate and mix-in options
- Perfect for gifting, parties, or personal enjoyment
- Easy to make with minimal ingredients and equipment
- Offers a fun way to get creative and celebrate the holidays
Introduction to Christmas Bark Recipe: A Holiday Favorite
Christmas bark is a festive treat loved by many during the holiday season. It’s a mix of chocolate, festive toppings, and seasonal flavors. This treat has grown from classic candy-making traditions, adapting to different tastes over time.
Christmas bark combines rich chocolate with various mix-ins for texture and color. You can find everything from peppermint bark to versions with dried fruits and nuts. It’s a favorite for those looking for a sweet holiday treat.
What makes Christmas bark special is its easy elegance and customization. You can choose from smooth textures to crunchy ones. Its bright colors, festive toppings, and chocolate aroma make it a hit at parties and in gift baskets.
“Christmas bark is the ultimate holiday indulgence – a delectable blend of chocolate, seasonal flavors, and whimsical toppings that capture the essence of the most wonderful time of the year.”
Exploring Christmas bark recipes can deepen your love for homemade sweets. It’s a joy to share these treats with loved ones.

Essential Ingredients for Perfect Holiday Bark
Making the perfect Christmas Bark Recipe for the holidays begins with picking the right ingredients. The chocolate, mix-ins, and toppings all matter. They help make a festive and tasty treat.
Types of Chocolate to Use
The quality and type of chocolate you pick can change everything. Use high-quality dark, milk, or white chocolate for the best taste. Try different cacao percentages to find your favorite flavor.
Mix-in Options and Toppings
- Crushed candy canes or peppermint bark for a classic holiday twist
- Toasted nuts, such as almonds or pecans, for a crunchy texture
- Dried fruit, like cranberries or chopped apricots, for a burst of sweetness
- Shredded coconut or crushed graham crackers for a delightful textural contrast
Special Holiday Add-ins
To make your Christmas Bark Recipe truly festive, add seasonal ingredients like:
- Sprinkles or colored sugar for a cheerful, colorful look
- Crushed gingerbread cookies or crumbled holiday-themed biscuits
- A drizzle of white chocolate or caramel for an extra touch of indulgence
By choosing the right chocolate and adding various mix-ins and toppings, you can make chocolate bark recipes that will impress your holiday guests.

Kitchen Tools and Equipment Needed
To make the perfect christmas bark recipe, you need some key kitchen tools. From baking sheets to double boilers, the right tools are crucial. They help you get the best results.
First, grab a high-quality baking sheet or two. Sheets with a rimmed edge are best to catch any spills. Don’t forget parchment paper. It makes the bark easy to remove from the pan.
- Baking sheets with rimmed edges
- Parchment paper
For melting chocolate, use a double boiler or a heatproof bowl over simmering water. This method prevents the chocolate from burning. You’ll also need a strong spatula or spoon for stirring and spreading.
- Double boiler or heatproof bowl
- Spatula or spoon for stirring and spreading
Lastly, have small bowls or ramekins ready for toppings or mix-ins. They help you layer your christmas bark recipe easily. This makes your holiday treat look and taste amazing.
With these tools, you’re ready to make a beautiful and tasty christmas bark. It will impress your family and friends this holiday season.
Christmas Bark Recipe: Step-by-Step Guide
Making Christmas bark is a fun holiday tradition. It’s all about melting chocolate right and layering ingredients perfectly. Follow this guide to make your own holiday treat.
Melting Chocolate Properly
To start, melt the chocolate correctly. You can use a double boiler or microwave on low, stirring often. Tempering the chocolate gives it a smooth, shiny look. This means heating it to a certain temperature and cooling it a bit before using.
Layering Techniques
After melting and tempering the chocolate, layer your bark. Pour a thin layer on a parchment-lined baking sheet and spread it evenly. Let it set a bit before adding your mix-ins and toppings.
Adding Decorative Toppings
Now, add your favorite toppings like crushed candy canes or festive sprinkles. Press them gently into the chocolate. Be creative and try different flavors for your treats.
By following these steps, you’ll make beautiful and tasty Christmas bark. It will be a hit with your family and friends this holiday season.
Tips for Perfect Chocolate Tempering
To make perfect chocolate bark, you need to temper the chocolate right. Tempering makes the chocolate shiny, snappy, and smooth. Here are some tips to help you temper chocolate perfectly.
For a detailed guide on tempering chocolate, check out this step-by-step tutorial by Serious Eats.
Understand the Importance of Tempering
Tempering changes the chocolate’s cocoa butter crystals. This makes the chocolate stable, shiny, and firm. Without tempering, your chocolate bark might look dull or crumbly.
Master the Tempering Technique
To temper chocolate for your christmas bark recipe, follow these steps:
- Chop or break the chocolate into small, even pieces to allow for faster and more even melting.
- Melt two-thirds of the chocolate in a double boiler or microwave, stirring frequently until it reaches 115-120°F for dark chocolate or 100-105°F for milk and white chocolate.
- Remove the melted chocolate from the heat and add the remaining one-third of the chocolate. Stir continuously until the temperature drops to 82-84°F for dark chocolate or 78-80°F for milk and white chocolate.
- Once the desired temperature is reached, the chocolate is tempered and ready to use for your chocolate bark recipes.
Getting the tempering right might take some practice. But the smooth, shiny chocolate and its satisfying snap are worth it.
Creative Flavor Combinations for Christmas Bark Recipe
The classic peppermint bark is a favorite, but why not try new flavors for your christmas desserts? From traditional to creative, you can make the perfect Christmas bark.
Traditional Peppermint Options
Peppermint is a timeless flavor that goes well with chocolate. For a classic peppermint bark, layer white chocolate with crushed candy canes or peppermint candies. Add red food coloring to the white chocolate for a festive look.
Unique Seasonal Variations
Try new flavors that capture the holiday spirit. Add caramel, cinnamon, or orange zest to your christmas desserts. Crushed gingerbread cookies or edible gold dust can add a glamorous touch.
Kid-Friendly Combinations
- Make a fun peppermint bark with crushed candy canes and colorful sprinkles.
- Try white chocolate with crushed candy canes and mini marshmallows for a s’mores twist.
- For a no-bake option, layer graham cracker crumbs, melted chocolate, and crushed holiday cookies.
“The holidays are all about indulging in sweet treats, and christmas desserts like homemade bark are the perfect way to celebrate the season.”
Whether you stick to classics or try new flavors, making peppermint bark and other holiday desserts is fun. Let your imagination run wild this festive season.
Storage and Shelf Life Guidelines
Keeping your homemade christmas candy recipes fresh is key. Whether you’re making classic peppermint bark or trying new flavors, these tips will help. They’ll keep your treats looking great and ready to share.
Optimal Storage Conditions
For the best taste, store your candies in a cool, dry spot. Stay away from sunlight and heat. Use an airtight container like a tin or sealed bag to keep them fresh. Don’t put them in the fridge, as the moisture can make them soft.
Estimated Shelf Life
Most candies will stay fresh for up to 2 weeks with proper storage. But, some like fresh fruit or nuts might only last a week. For the best taste, make small batches and enjoy them within a week.
“The key to preserving your christmas candy recipes is to keep them in a cool, dry place away from direct sunlight and heat sources.”
Maintaining Freshness
- Don’t handle your candies too much, as your hands can melt the chocolate.
- If they start to soften, just melt the chocolate again and spread it out.
- For extra protection, layer your candies with parchment or wax paper in your container.
By following these tips, your homemade christmas candy recipes will stay delicious. They’ll be perfect for surprising your loved ones during the holidays.
Packaging Ideas for Homemade Gifts
Make your homemade Christmas bark a special gift with these creative packaging ideas. You can use decorative containers or festive gift wrapping. These methods will make your holiday treat a joy to receive.
Decorative Container Options
Don’t just put your Christmas bark in a plain box. Think about using a decorative container to show off your work. Here are some ideas:
- Mason jars or other glass containers with holiday-themed labels or ribbon
- Tin cans or metal tins decorated with holiday stickers, paint, or fabric
- Wooden crates or boxes with a rustic, farmhouse-inspired look
- Ceramic or porcelain bowls or trays in festive colors or patterns
Gift Wrapping Suggestions
After picking the perfect container, it’s time to wrap your christmas gifts. Here are some ideas to make your easy christmas treats stand out:
- Use patterned tissue paper, cellophane, or specialty gift bags to add a touch of holiday flair
- Tie the package with colorful ribbons, twine, or even holiday-themed string
- Incorporate natural elements like pine sprigs, cinnamon sticks, or dried citrus slices for a rustic, organic look
- Add a personalized gift tag or label with the recipient’s name or a heartfelt message
By focusing on the packaging, you can make your homemade Christmas bark a unique and memorable gift. Your loved ones will surely appreciate it.
Troubleshooting Common Issues
Making the perfect christmas bark recipe is a fun holiday tradition. But, it comes with its own set of challenges. Don’t worry, with a bit of troubleshooting, you can overcome any problem and enjoy the sweet, festive treats. Let’s look at some common issues and how to solve them.
Seizing Chocolate
If your chocolate starts to seize and thicken unexpectedly, don’t panic. This can happen if the chocolate gets too hot or if water or moisture is added. To fix this, try adding a small amount of vegetable oil or shortening to the chocolate. Gently stir until it smooths out.
Uneven Layers
Getting even layers of chocolate and toppings can be tricky. To ensure even thickness, pour the melted chocolate onto a parchment-lined baking sheet. Use a spatula to spread it out evenly before adding your mix-ins.
Soft or Hard Bark
If your christmas bark turns out too soft or too hard, it’s often due to tempering issues. Make sure to follow the tempering guidelines closely. If the texture isn’t right, try adjusting the ratio of ingredients.
“The key to perfect christmas bark is patience and attention to detail. With a little troubleshooting, you’ll be on your way to creating a delicious holiday treat.”
Remember, every batch of christmas bark is unique. Don’t be afraid to experiment and find the techniques that work best for you. With practice, you’ll be making professional-looking christmas bark in no time.
By addressing common issues and following best practices, you can ensure your christmas bark turns out perfectly every time. Happy baking!
Dietary Variations and Substitutions
Creating tasty christmas desserts and chocolate bark for everyone is key. Whether it’s for vegans or those with nut allergies, there are many delicious choices. You can make sure everyone enjoys the holiday treats.
Vegan Options
Vegans can still enjoy christmas desserts and chocolate bark. Just use vegan chocolate instead of regular. Many vegan chocolate brands melt and bake well, making it easy to make vegan bark.
Nut-Free Alternatives
Don’t worry about nut allergies. There are many nut-free options that taste great. Try using seeds, toasted coconut flakes, or dried fruit for a crunchy topping.
“The key to creating memorable christmas desserts and chocolate bark is finding the perfect balance of flavors and textures, regardless of dietary restrictions.”
With creative vegan and nut-free choices, everyone can have fun making and eating homemade christmas bark this holiday.
Conclusion
Making a christmas bark recipe is a great way to celebrate the holiday season. This guide shows you how to make a beautiful and tasty treat. It will impress your friends and family.
You can choose traditional peppermint or try new flavors. The options are endless for customizing your easy christmas treats.
We suggest you try this christmas bark recipe and show off your creativity. Try different mix-ins, toppings, and flavors to find your favorite. Sharing these treats with loved ones spreads holiday cheer and creates memories.
Happy baking and happy holidays! Enjoy making your own christmas bark recipe. The sweet rewards of your efforts are worth it.
FAQ
What is Christmas bark?
Christmas bark is a tasty holiday treat. It’s made by layering melted chocolate with different toppings. This festive candy is easy to make and loved during Christmas.
What are the essential ingredients for making Christmas bark?
You’ll need high-quality chocolate and various toppings for Christmas bark. Use milk, dark, or white chocolate. Add mix-ins like crushed candy canes, nuts, and dried cranberries. You can also use peppermint extract or gingerbread cookies for a holiday touch.
What kitchen tools and equipment do I need to make Christmas bark?
To make Christmas bark, you need a few tools. Use a baking sheet with parchment paper, a double boiler or microwave, and a spatula or spoon. These tools help spread and decorate the bark.
How do I properly melt the chocolate for Christmas bark?
Melt the chocolate carefully to avoid overheating. Use a double boiler or microwave. This ensures the chocolate melts smoothly. Proper tempering is key for a glossy bark.
How do I add toppings and decorations to my Christmas bark?
After melting the chocolate, add your toppings. Sprinkle them over the chocolate and gently press them in. Let it cool completely before breaking it into pieces.
How long does homemade Christmas bark last, and how should I store it?
Homemade Christmas bark lasts up to 2 weeks when stored properly. Keep it in an airtight container at room temperature. Refrigeration for up to 1 month is also an option, but let it come to room temperature before serving.
What are some creative flavor combinations I can try for my Christmas bark?
Try different flavors for your Christmas bark. Options include dark chocolate with sea salt and caramel, or milk chocolate with toasted coconut and macadamia nuts. White chocolate with gingerbread cookies and cranberries is another great choice.
How can I package my homemade Christmas bark as a gift?
Homemade Christmas bark makes a great gift. Package it in holiday-themed containers like boxes, tins, or jars. Decorate the containers with festive cellophane or ribbon. Add a personalized label for a special touch.
What if I have dietary restrictions or allergies? Can I still make Christmas bark?
Yes, you can make Christmas bark for different diets. Use vegan chocolate and dairy-free toppings for vegan options. For nut-free bark, skip nuts and use seeds, dried fruit, or candy canes instead.
